The Update to Mocha AE makes simple rotoscoping a little easier with After Effect's Roto Brush tool.
There are a lot of great rotoscope tools out there (one of our favorites being Mocha), but After Effects’ own Roto Brush tool has made some major strides in making the daunting task of rotoscoping a bit easier.
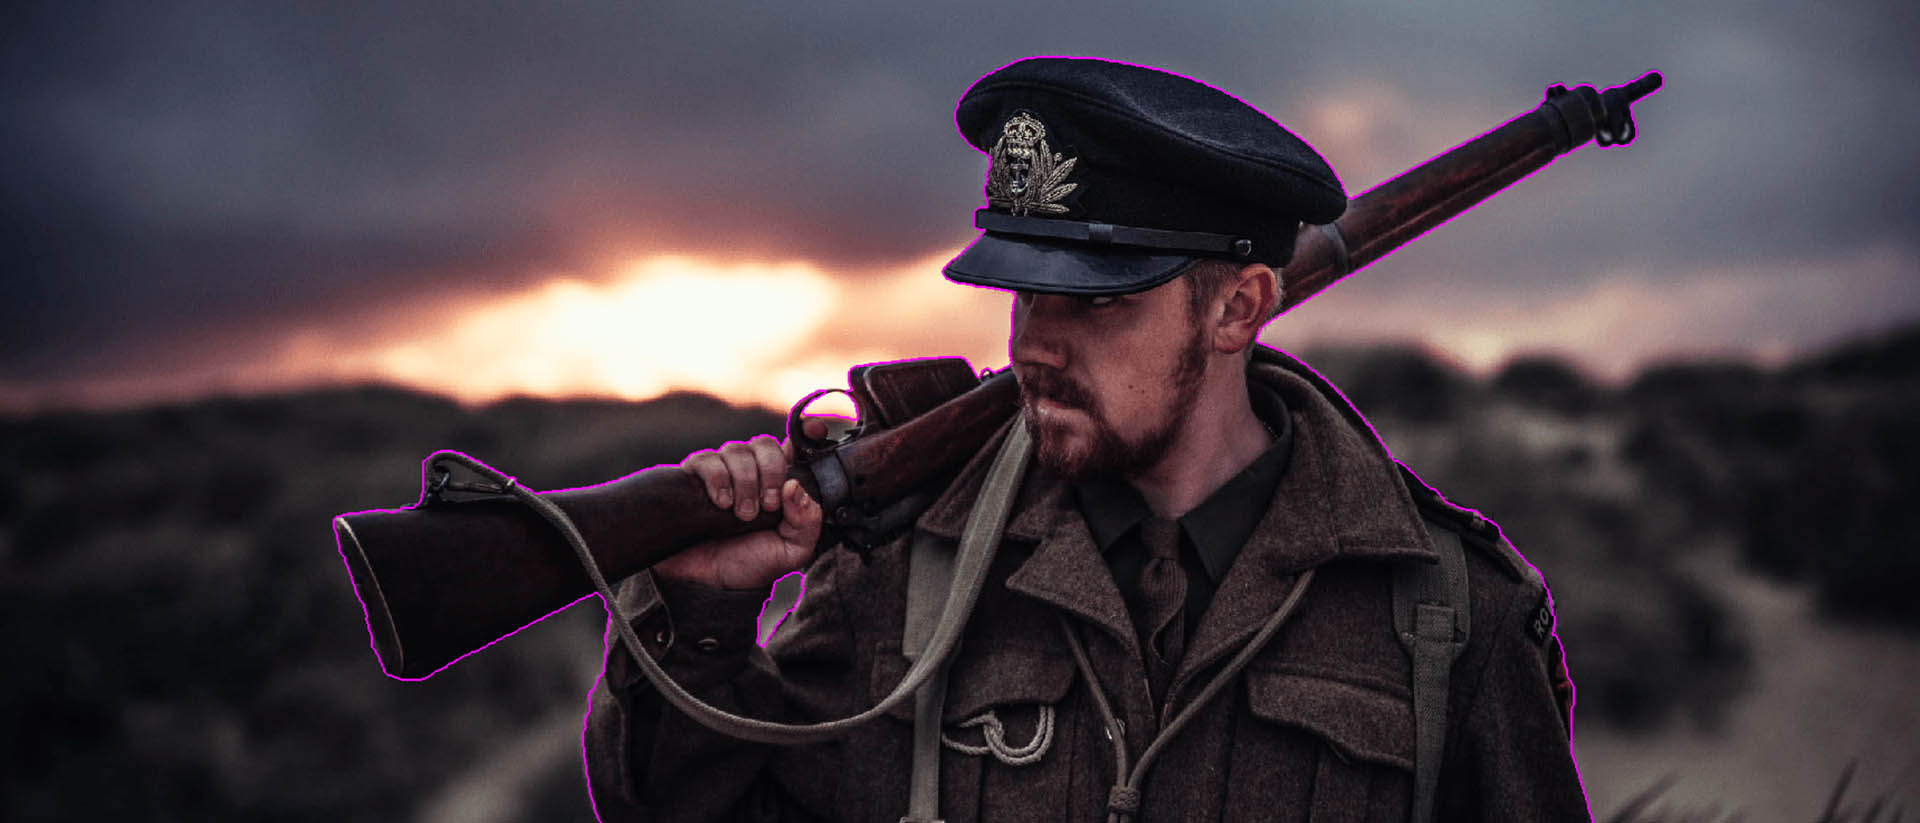
Rotoscoping affords you a lot of options with your footage, one of the best being the ability to essentially extract a subject from a background without the need for keying. Even if you didn’t shoot a subject on a green or blue screen, you can still explore the possibility of isolating the subject on its own layer in After Effects.
You can then make individual adjustments to the subject, like color correction, animated transitions, changing the background, and much more.
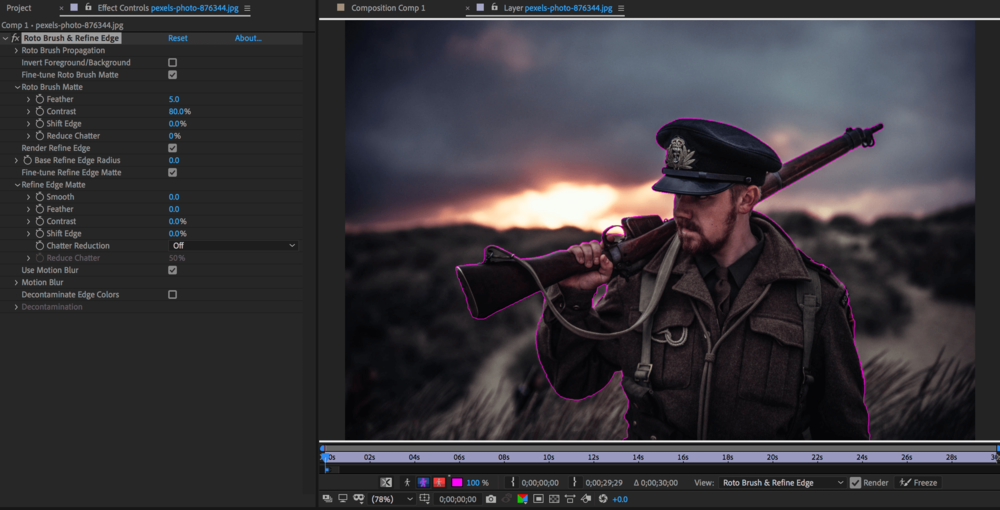
The cool thing about the Roto Brush tool is that it feels just like using the Quick Mask tool in Photoshop to simply brush over the area you want to select, then you can easily brush again to add or remove from your selection throughout the process.
Also, after you’ve made your initial selection with the Roto Brush tool, After Effects will automatically estimate and interpolate a matte for the next 24 frames or so, which will let you work at a decent pace of one second at a time (assuming your selections don’t need too much finessing).
Rotoscoping with Mocha vs. Rotoscoping with After Effects’ Roto Brush
The rotoscoping workflow is different with each of these processes, but the great news is all After Effects users now have Mocha’s rotoscoping capabilities built-in natively to After Effects CC 2019, so it’s just a matter of preference, and what you’re needing to accomplish.
As a general rule, Mocha is better suited for more advanced rotoscoping tasks because it uses an advanced motion tracking algorithm that doesn’t just track pixels, it tracks along planes, and offers a detailed spline-based approach to rotoscoping. This is great for working with difficult footage with a lot of movement or subjects that may be occasionally obscured.
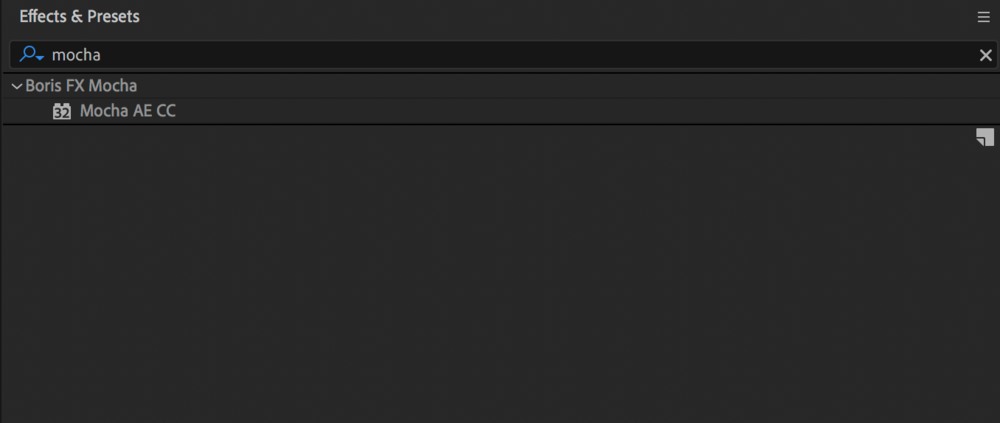
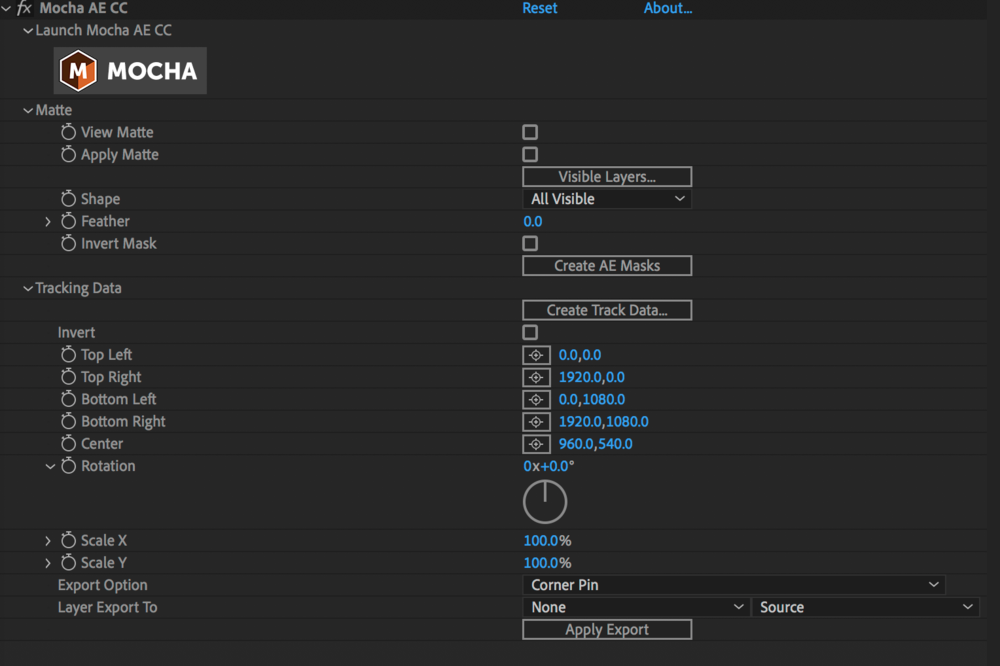
To add Mocha, Simply search for “Mocha” in Effects & Presets, then drag the effect onto the clip you want to rotoscope.From there, you’ll also have the option to continue to work within After Effects for your roto work, or open the third-party Mocha app for even more robust features.Of course, Mocha can do a lot more than just rotoscoping, so it’s worth every VFX artist’s time to learn how to use it!
However, today’s focus is the After Effects Roto Brush, which would typically be used for simpler rotoscoping tasks, but as we stated at the beginning, it has gotten significantly better over time. It's certainly a viable option for generating surprisingly solid rotoscoping mattes, even with complex subjects - and it’s as easy to use as dragging a brush.
To begin using the After Effect Roto Brush, rather than an effect that you drag on a clip, you simply select the Roto Brush tool in the toolbar and go to work. You can also click and hold to bring up the option to select the Refine Edge tool.Overall, Mocha has more features and parameters for rotoscoping across all types of environments, especially with complex footage, but it does have a more advanced interface that takes a little getting used to. At the same time, though, if you become familiar with it, Mocha can save you quite a bit of time doing rotoscope work because of its intelligent automated features.
If your specific job doesn’t require you to rotoscope frequently, and you have a little more time to fine-tune your rotoscope in a simpler environment, After Effects’ Roto Brush tool is a great choice. Honestly, it’s a great idea to learn to master both, so you can be equipped to work as efficiently as possible.
How to Isolate Complex Moving Selections with the Roto Brush Tool
Everyone knows how time-consuming it can be to generate a clean key of a subject with flowing hair, but check out how easy it is to isolate the girl in the video below simply using the Roto Brush Tool. Nathaniel Dodson from tutvid.comdoes an exceptional job in the video explaining precisely how to use the Roto Brush tool. What starts out as a roughly isolated selection turns into an impressive rotoscope job after the Refine Edge tool is selected and applied correctly. It’s absolutely critical that the Refine Edge tool is used to achieve a clean and believable rotoscope in conjunction with the Roto Brush tool.
It’s also a great idea to make sure motion blur is selected in the Roto Brush parameters under the Effects Panel, so your edges will flow naturally if there’s a lot of motion in your subject.
The After Effects Roto Brush tool is quick, simple, and a great option for getting some clean VFX rotoscoping done. Rather than spending time drawing and animating masks, let the Roto Brush tool do most of the work for you!
Any rotoscoping tips you’d like to share? Let us know in the comments below!
First time here? ActionVFX creates action stock footage for VFX and filmmaking. (We also have some great free stuff!)
Remember to connect with us on our social networks to stay updated on our latest news, giveaways, announcements and more!