Creating Realistic Fire Using VFX Stock Footage
Learn how to composite fire that feels real, all using ActionVFX assets.
Creating realistic fire VFX doesn't have to mean expensive simulations or endless render times. With the right assets — and the right approach — you can build cinematic fire entirely in post. And if you’re just getting started or want a testbed to practice your comp, the ActionVFX Practice Footage Library is a great place to start.
These free, production-style plates let you hone your skills on real-world footage without the licensing headaches — and they’re perfect for testing fire composites, light interactions, and scene-building workflows.
Now let’s break down what makes fire believable — and how to make it work in your shots using only ActionVFX stock elements. Watch Full Tutorial For Support.
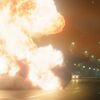
1. Skip the Sim — Use Real Fire Footage
Simulations can be time-consuming and unpredictable. If you’re working solo or on a tight deadline, pre-keyed fire footage saves you hours of work — and arguably delivers a more realistic result. That’s because these elements were captured in-camera, under real lighting, with natural physics baked in.
ActionVFX fire bursts, ground fire, embers, and smoke layers build a multi-depth composite. Real fire footage doesn’t just look better, it behaves better.
2. Start With a Solid Camera Track
This is crucial. If your scene has camera movement — especially handheld — a 2D planar track isn’t enough. Fire needs to move with the environment. In this shot, the artist used a full 3D camera solve via SynthEyes, but most software (After Effects, Blender, Nuke, Resolve) has built-in 3D tracking tools.
The goal is to lock your fire to the world, not the frame. Even slight parallax issues will break the illusion.
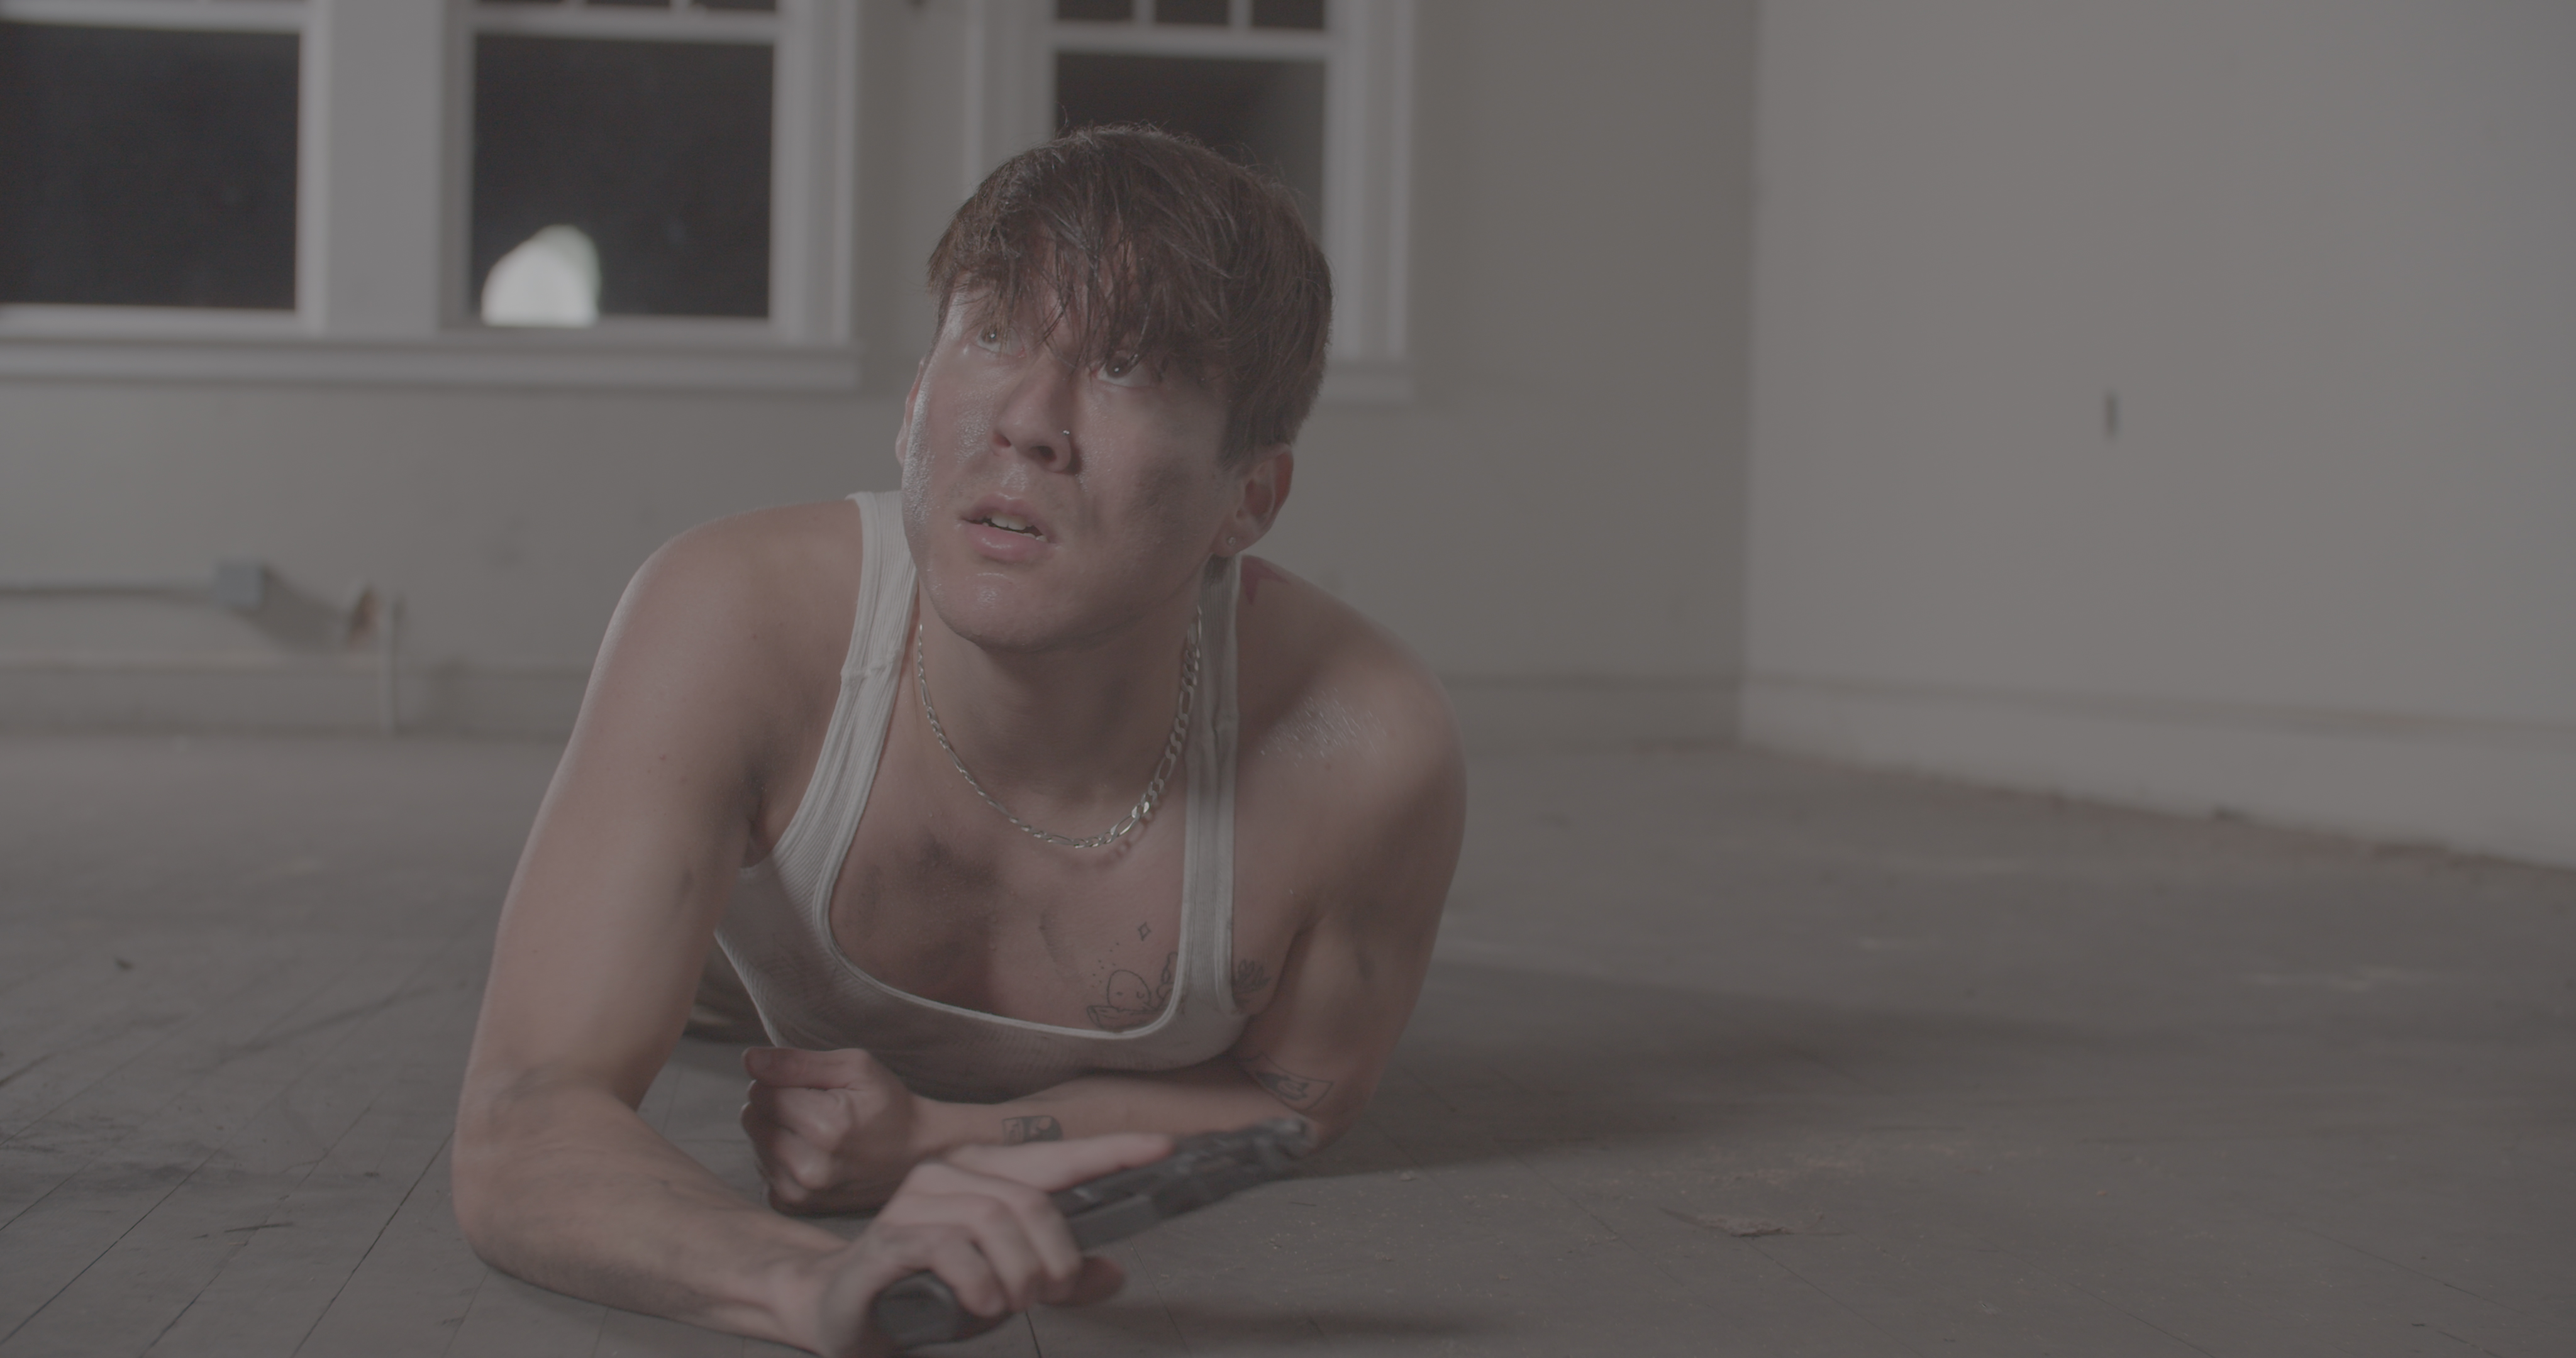
3. Roto Your Foreground — It’s Worth It
Even if you’re not doing face replacement or keying, rotoscoping is essential in fire composites. Without it, your flames sit awkwardly on top of the subject, destroying the depth of your scene. In this tutorial, the subject was rotoscoped using a simple mask — enough to let fire elements slip behind and “live” inside the shot.
Pro tip: keep your roto loose if the fire is fast-moving. It adds to the realism and saves time.
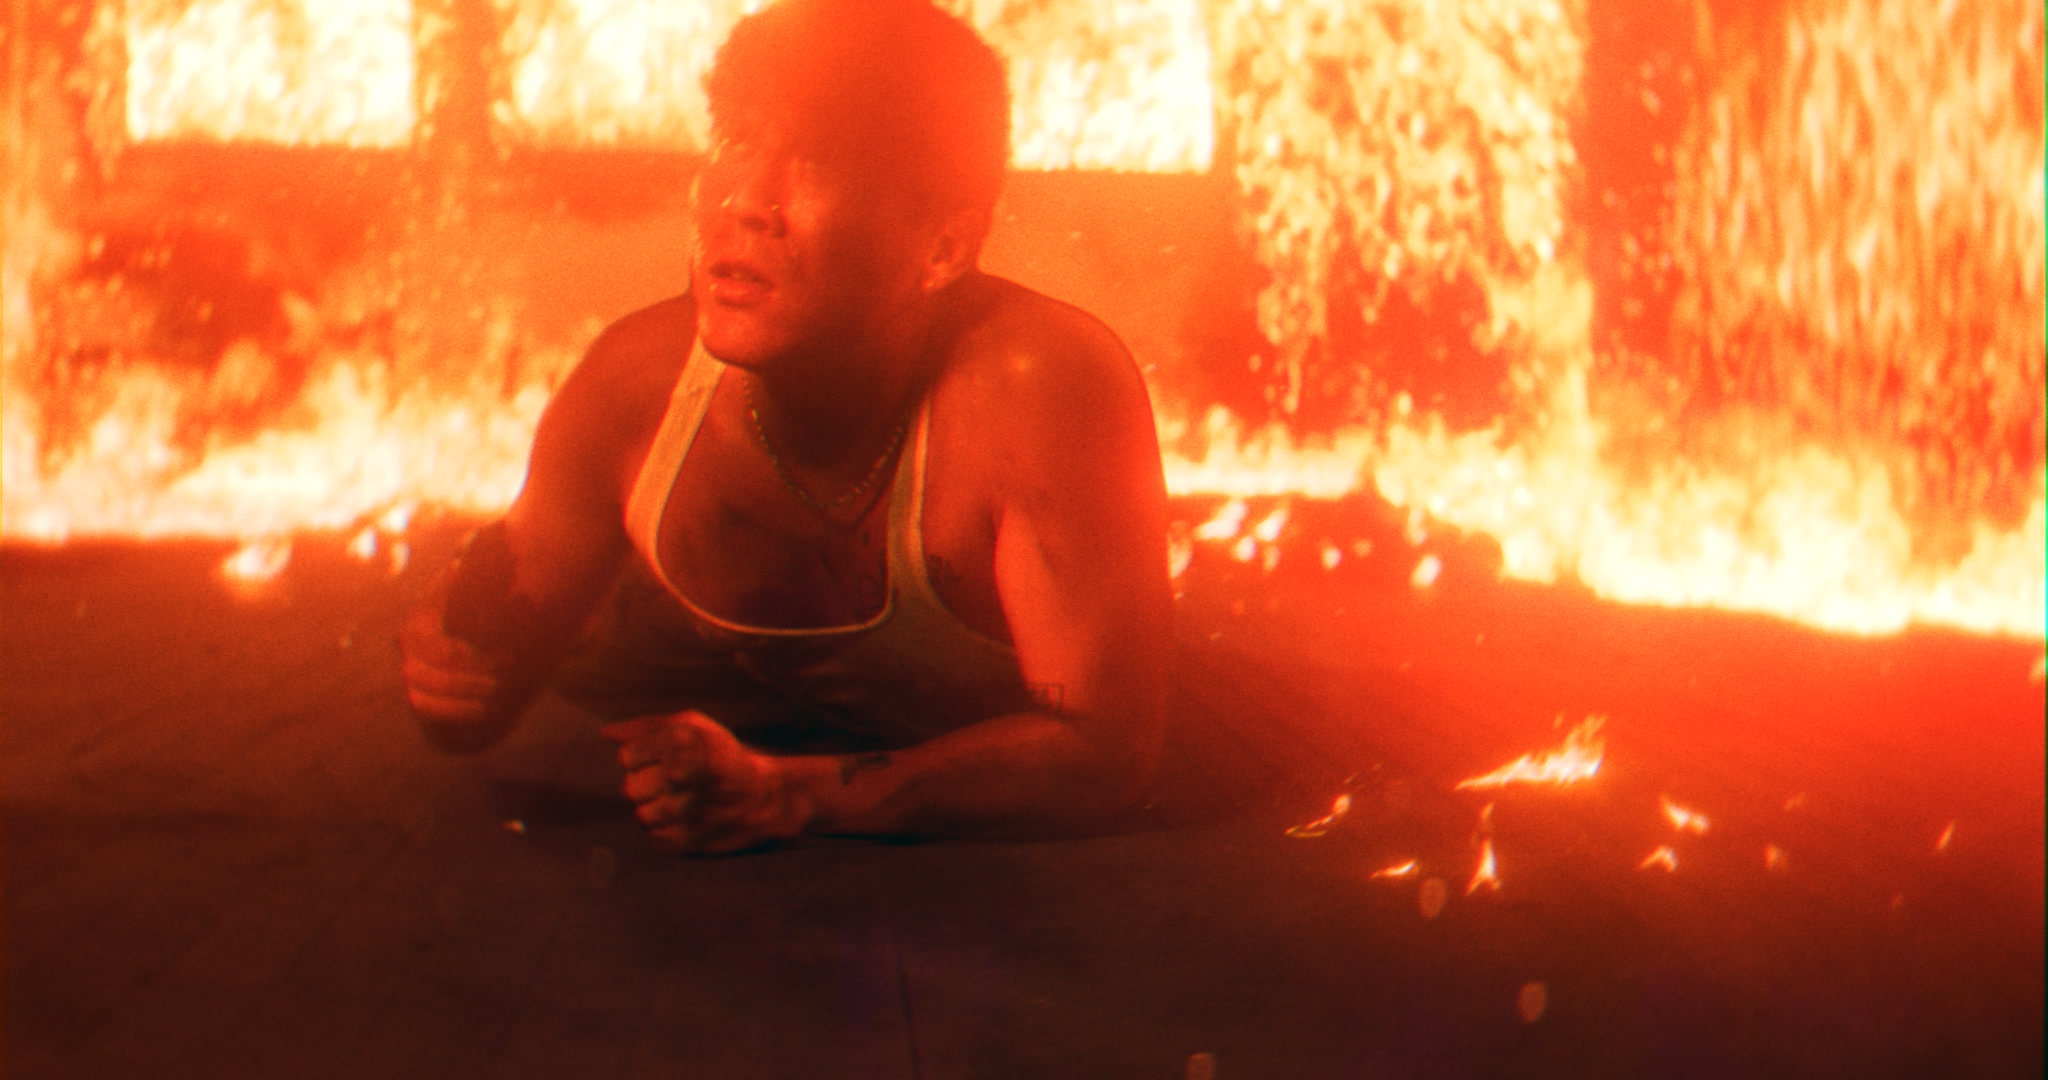
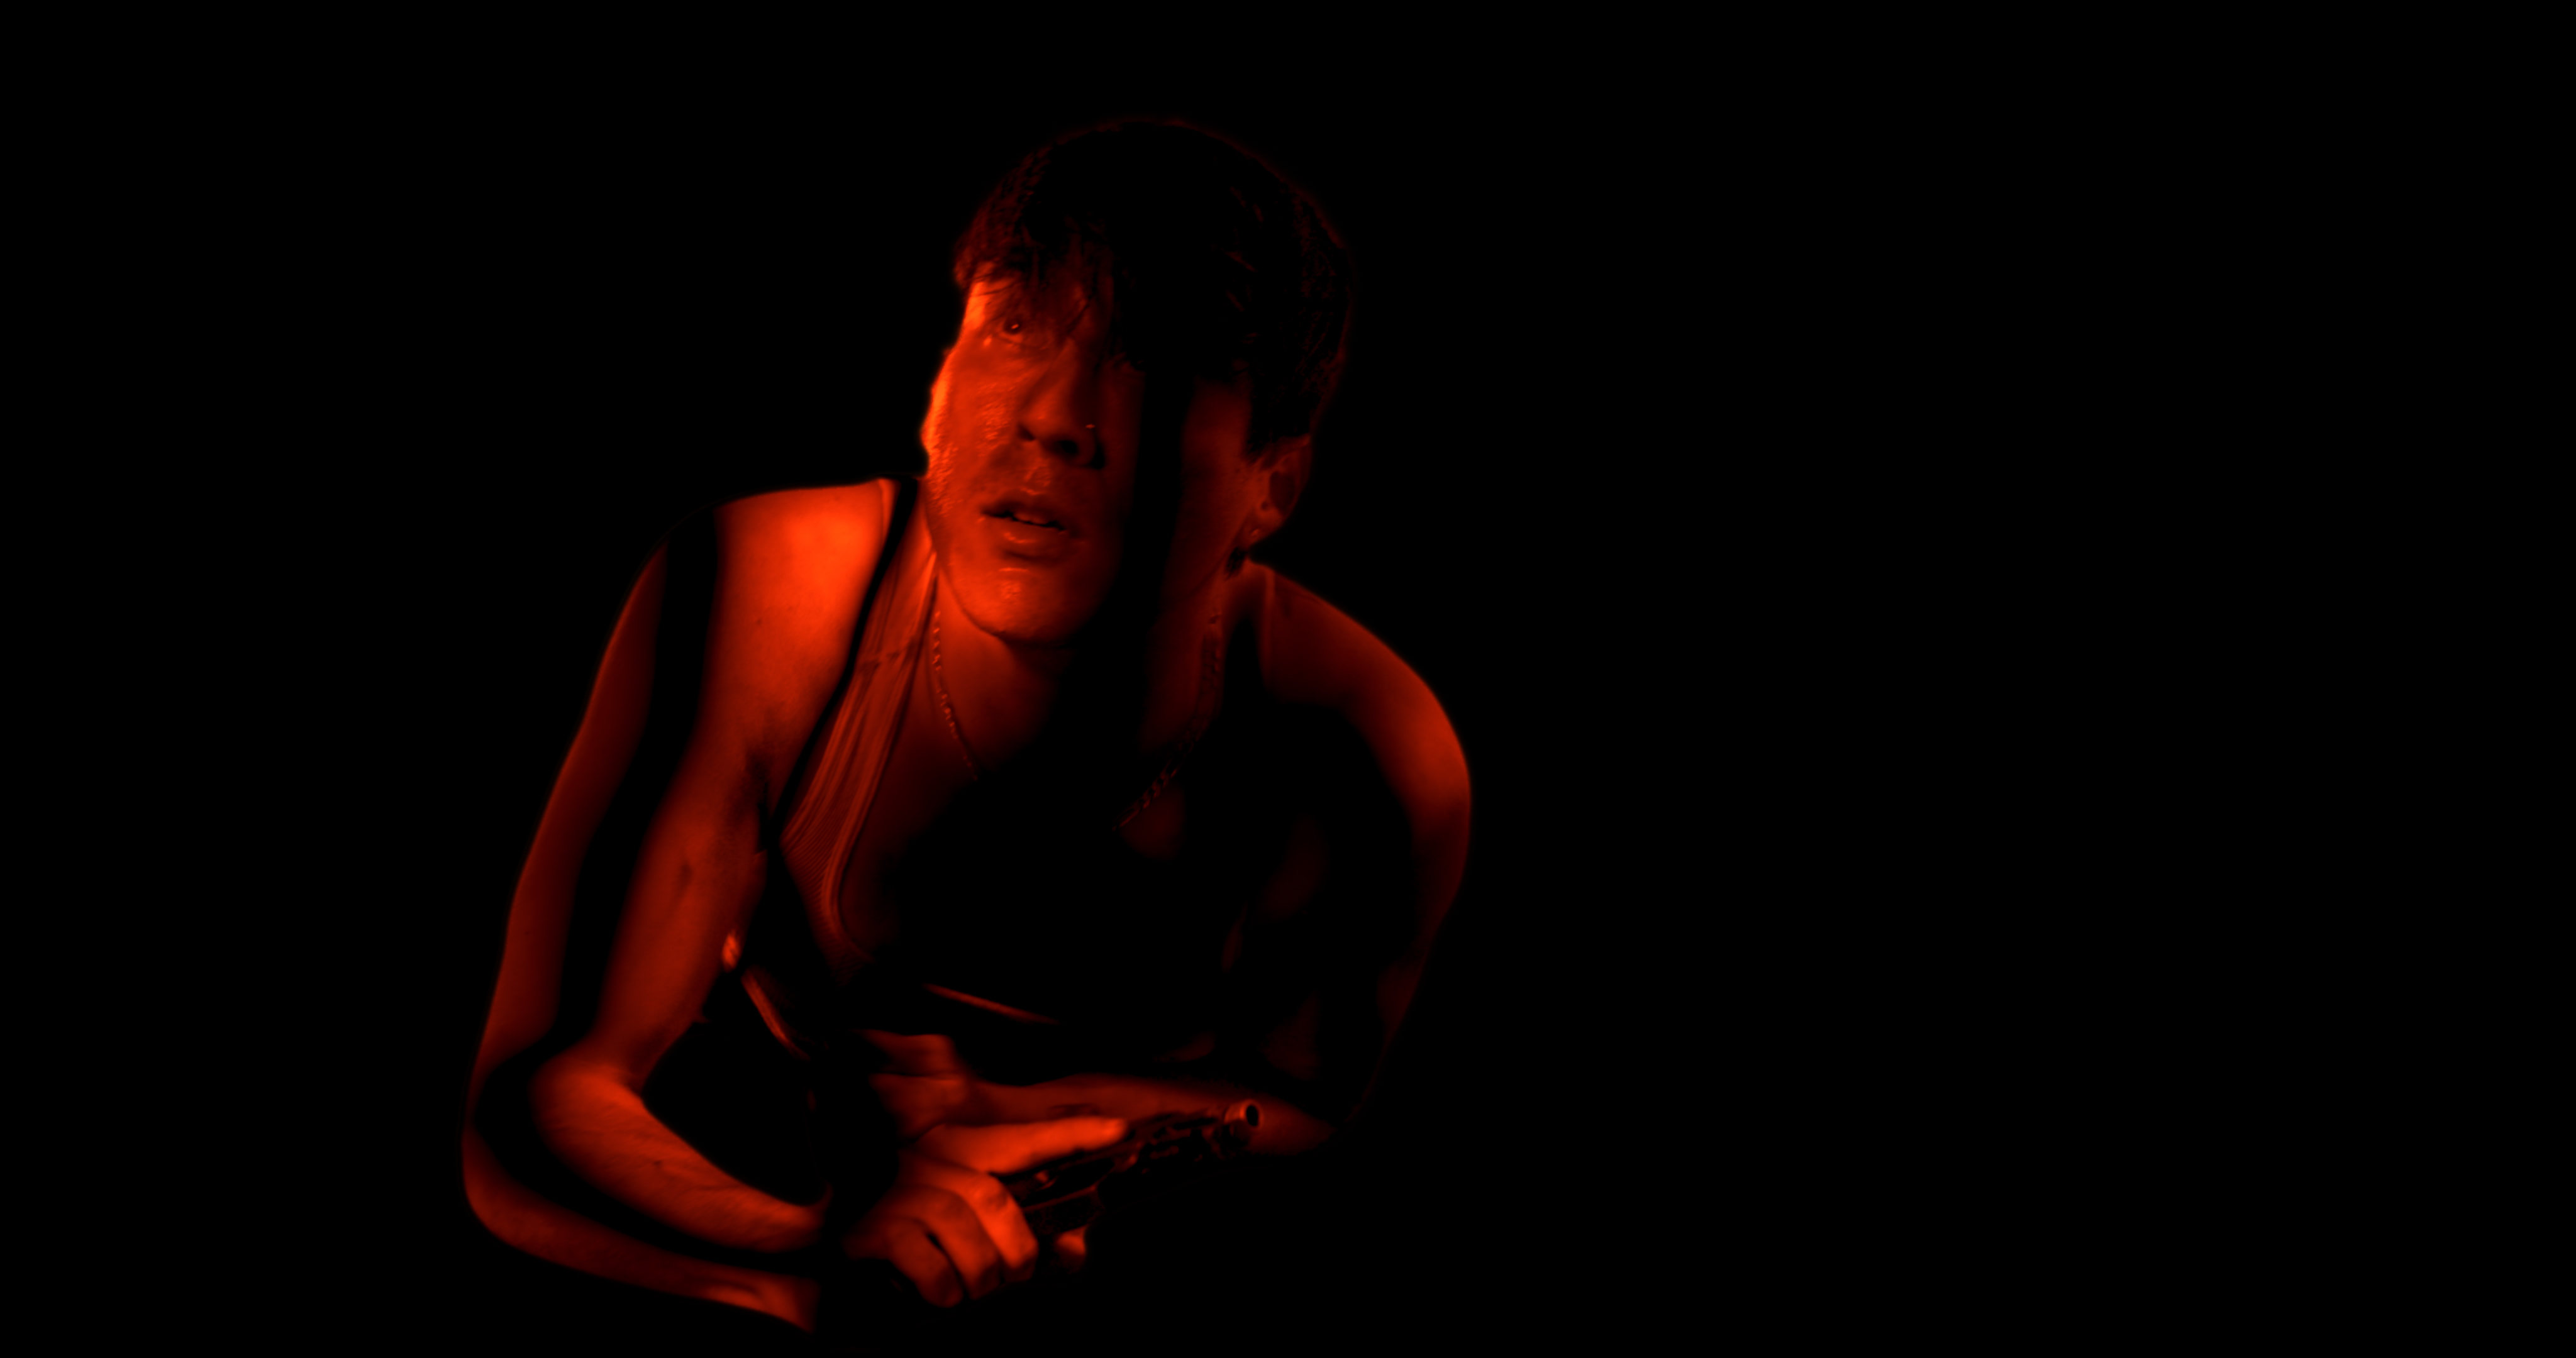
4. Relight the Subject — This Is What Sells It
This is where most fire composites fall apart — the fire is there, but the subject doesn’t react to it. Real fire is dynamic. It flickers, it wraps, and it casts light that moves. If your character isn’t being lit by the flames, the whole illusion breaks.
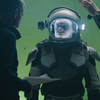
How to do it? First, the footage was brought into DaVinci Resolve Studio, where a Depth Map was generated to isolate the subject from the background.
-
Using that depth information, the scene was exported as two relight maps — one from the left and one from the right — to simulate firelight wrapping around the actor.
-
Back in After Effects, each relight map was placed above the footage and set to Add blend mode.
-
Each layer was tinted with a warm fire hue (orange/yellow) to match the flame source.
-
Then a wiggle expression was applied to the opacity, simulating the chaotic, unpredictable flicker of real fire.
This technique creates a reactive lighting effect that behaves more like practical on-set fire — shifting intensity and casting realistic color back onto the actor. It also allows you to control the timing and behavior of each light pass independently, adding nuance and depth.
5. Don’t Skip the Glow Pass
This technique adds depth and scale. In the example, the artist uses a soft, warm glow just behind the masked subject to simulate light spill and ambient fire bloom.
It anchors the fire to the environment and makes it feel like it’s really pushing out light and heat.
6. Distortion, Sparks, and Smoke — Fire’s Real Behavior
To go beyond just “looking hot,” your fire composite needs environmental reaction. In this shot, that includes:
- Heat distortion: subtle warp to mimic rising heat
- Floating embers: drifting sparks give a sense of atmosphere and movement
- Smoke layering: softens edges and fills the volume
Use distortion sparingly — too much can ruin your plate — but it’s essential for high-heat shots.
7. Match Your Grade (Then Grade It Again)
Trying to force each fire clip to match your plate can lead to inconsistency. Instead, build your composite first — fire, glow, light, smoke, distortion — then apply a unified color grade on top.
This brings everything into the same color space, simulates lens behavior, and helps your composite feel like one shot, not layers stacked together.
Assets Used
Every element in this shot came from ActionVFX: 🔥 Fire Bursts 🔥 Ground Fire 💨 Smoke Plumes ✨ Embers & Sparks 🌫 Heat Distortion Overlays
Whether you're in Nuke, After Effects, DaVinci Resolve, or Blender, these assets are drag-and-drop ready — built to integrate seamlessly with your workflow.
Watch the Full Breakdown
Want to see how this all comes together in action? Watch Now We’ve put together a complete tutorial walking through every step — from 3D camera tracking to glow passes, heat distortion, and fire relighting using ActionVFX assets.
🔥 No simulations. No guesswork. Just practical, repeatable fire compositing that works. 👉 Watch the Tutorial Now and start building better fire shots today.