When it comes to creating an epic trailer, the importance of the titles can’t be overstated. The title card in your trailer leaves the audience with a taste of what the artistic vision of the entire film might be. While it may seem like an easy task, there’s a reason why professional graphics companies spend weeks crafting the perfect titles for a film.
However, often times as editors we don’t have the luxury of time when crafting titles. So if you’re looking for a fast way to create stunning titles for film, here are a few tools you should use.
Tool #1: The Right Font
One of the biggest mistakes that novice editors make when creating titles is selecting the wrong font. Simply put, your font selection is the most important decision when crafting cinematic titles.
The right font will complement the tone of your trailer, the wrong one will not. While it is a gross simplification to say that the following fonts are always a great choice for a film, the following fonts are a great choice when I’m creating cinematic titles:
One of my favorite new features in the latest version of Final Cut Pro is the 3D text option. Unlike Premiere, Final Cut Pro allows users to create high-res 3D text in only a matter of seconds. Their expansive 3D library comes fully equipped with 3D reflection maps, textures, and bevel presets.
The following tutorial created by Larry Jordan shows us how to create 3D text in Final Cut Pro. You’ll notice in the tutorial how Larry goes into some of the advanced 3D positioning and rotation tools available in FCPX.
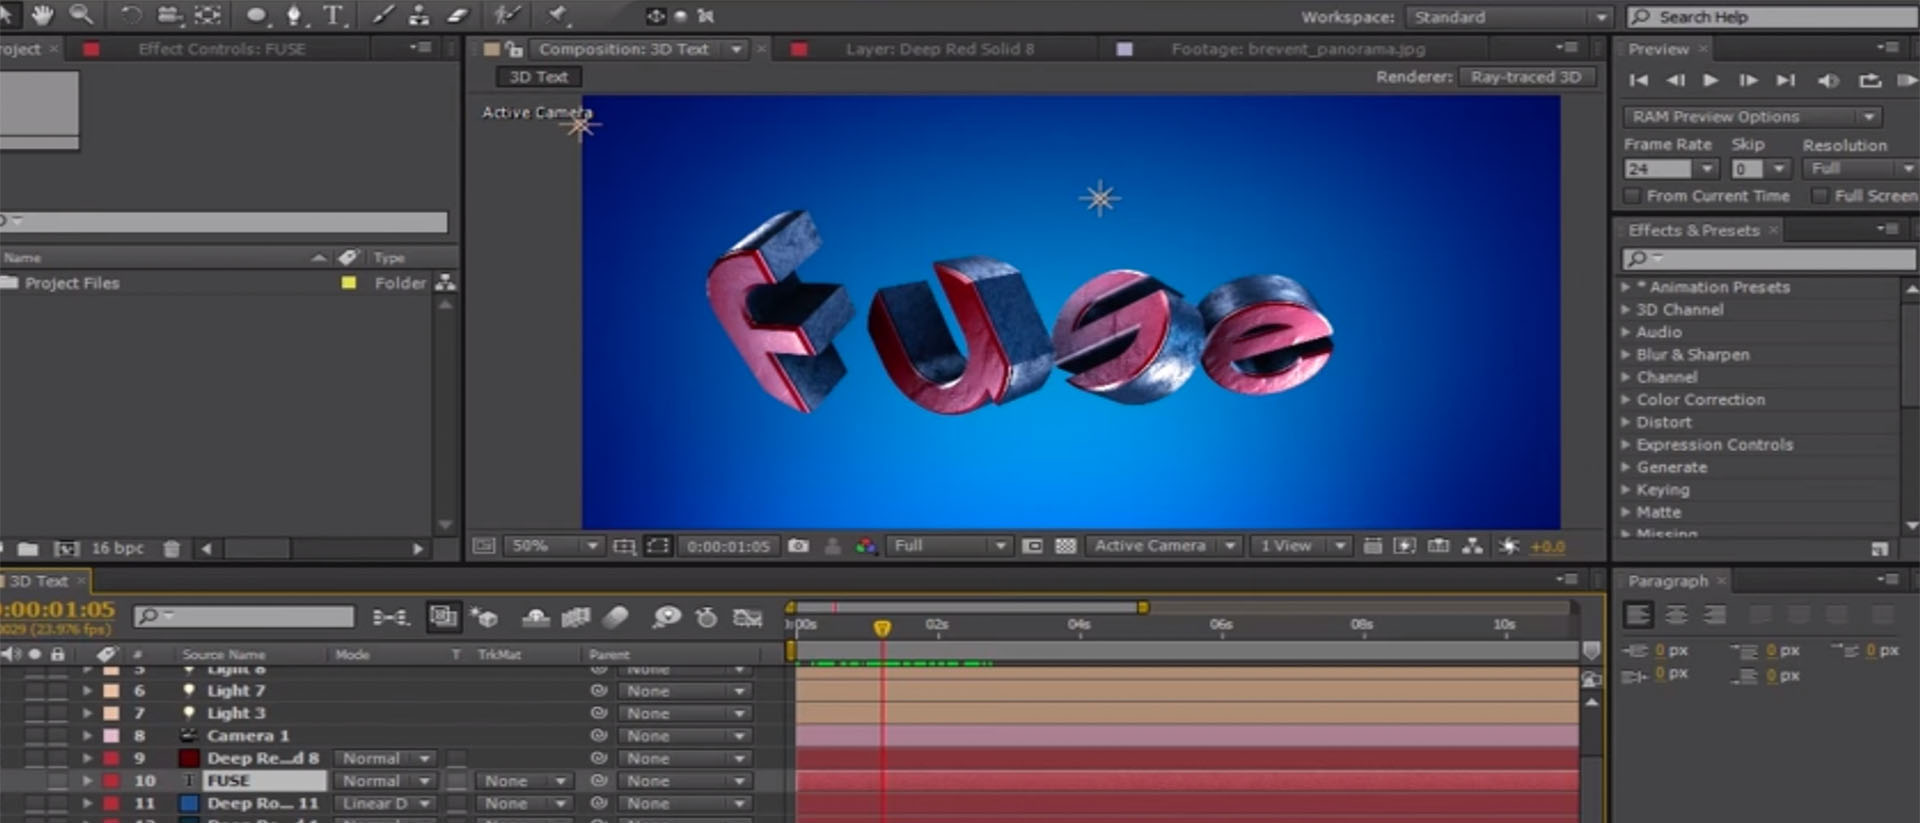
Tool #3: Element 3D
It’s not often that a plugin comes out that completely changes the motion graphics world, but when Element 3D hit the shelves only a few years ago, it ushered in a new era of 3D motion graphics work.
If you enjoy working in the Adobe softwares then there is simply no better 3D option than Element 3D. Element allows users to quickly create 3D text and objects. Plus, you can literally create stunning 3D titles in only a matter of seconds using their extensive library of textures and presets.
The thing that really puts Element 3D over the edge, is the speed at which it operates. Unlike ray-traced 3D or other 3D plugins, Element 3D works incredibly fast. The following tutorial from Video Copilot shows how easy it is to create 3D text with Element.
Tool #4: Cinema 4D
While you could certainly spend your entire career trying to learn the intricacies of Cinema 4D, you likely don’t have the time to master Cinema 4D. That being said, by spending only a few minutes watching tutorials you can learn enough Cinema 4D to create cinematic titles in no-time. Don’t believe me? Check out this quick tutorial.
Tool #5: Smoke Elements
Sometimes by adding just the slightest element into your scene, you can dramatically change the look and feel of your titles. One of my favorite ways to do this is by creating a 3D cinematic title and placing a smoke element behind it.
You could leave the element alone, but if you really wanted to take it over the top you can create some stunning color work by tweaking the mid-tones. Couple the smoke element with a lens flare and you’ll have a cinematic title in no-time. First time here? ActionVFX creates action stock-footage products for VFX and filmmaking, centered on user feedback. (We also have some great free stuff!)
Remember to connect with us on our social networks to stay updated on our latest news, giveaways, announcements and more!