15 Essential Filmmaking Techniques Every Filmmaker Should Know
July 13, 2020
Caleb Ward
In this article, we’ll cover 15 essential filmmaking techniques that every filmmaker should know.
Filmmakers in Hollywood have compared the movie maker's desire to a bug that bites you, and once you have been bitten, there is no turning back. What is it about making movies that drives us to keep wanting to make movies or to begin the journey in the first place?
If you’re reading this article, there’s a really good chance that you love reading up on the latest filmmaking techniques. The team here at ActionVFX totally understands.
From dolly shots to compositing techniques, there’s a never-ending supply of inspiring filmmaking tips and tricks available to the modern filmmaker.
However, in my experience, I’ve found that I often use the same filmmaking techniques over and over again in my productions. As a result, I thought it’d be fun to craft a helpful collection of my favorite filmmaking techniques for aspiring filmmakers. I hope you enjoy the list.
15 Essential Filmmaking Techniques
This article is by no means a comprehensive list, but if you master these essential filmmaking techniques, you’ll be in a good spot to grow your career as a director and cinematographer.
1. Tilt & Pan
Category: Cinematography
Level: Beginner
The most essential (and basic) filmmaking technique for aspiring filmmakers is tilt and pan. Both of these two terms represent a simple camera movement on a tripod, but they are slightly different:
- Tilt: A camera movement that tilts the tripod head up or down.
- Pan: A camera movement that pans the camera head from left or right.
A tilt and pan can give your scene a sense of movement and fluidity. In fact, if you were to watch any scene from your favorite movie, you’ll probably see many examples of tilts and pans.
Professional tripods will allow the cinematographer to lock the tilt or pan settings on their tripod to create smoother movements. So the next time you’re in the market for a new filmmaking tripod, be sure to look for one with these settings.
Here are a few of my favorites:
Early on in your filmmaking career, you might confuse these two terms a bit, but don’t worry about it! Once you get a few productions under your belt, these two terms will become engrained in your brain forever.
2. Zoom
Category: Cinematography
Level: Beginner
You might be surprised to hear that a zoom shot is actually not as common in filmmaking as you might think. In fact, if you were to watch your favorite movie you might only see 2-3 examples of a zoom shot in the entire film. Why is that?
Well, when it comes to cinematography, a zoom conveys a sense of urgency, focus, and connection with the subject matter. They often happen at pivotal or intense scenes in a movie. As such, zooms are often used sparingly in film (unless you’re Edgar Wright).
When they work, zoom shots can be incredibly effective. This great video is a fun montage of the best zoom shots in film history.
3. Dolly & Trucking Shots
Category: Cinematography
Level: Intermediate
As you begin to grow as a cinematographer you will likely want to practice Dolly Shots and Trucking Shots. Like tilts and pans, Dolly Shots and Trucking Shots are slightly different filmmaking techniques:
- Dolly Shot: A movement where the entire camera moves forward or away from the subject.
- Trucking Shot: A camera movement where the entire camera system moves parallel to the subject.
Most major modern films use dolly shots and trucking shots extensively to create compelling imagery and tell their story. These camera movements can dramatically increase the perceived production value of your film.
Gear for Dolly & Trucking Shots
The gear required to shoot an effective dolly shot or a trucking shot can be broken down into two main categories:
- A Camera Dolly System - A track system that allows a tripod or cart to ride smoothly on rails.
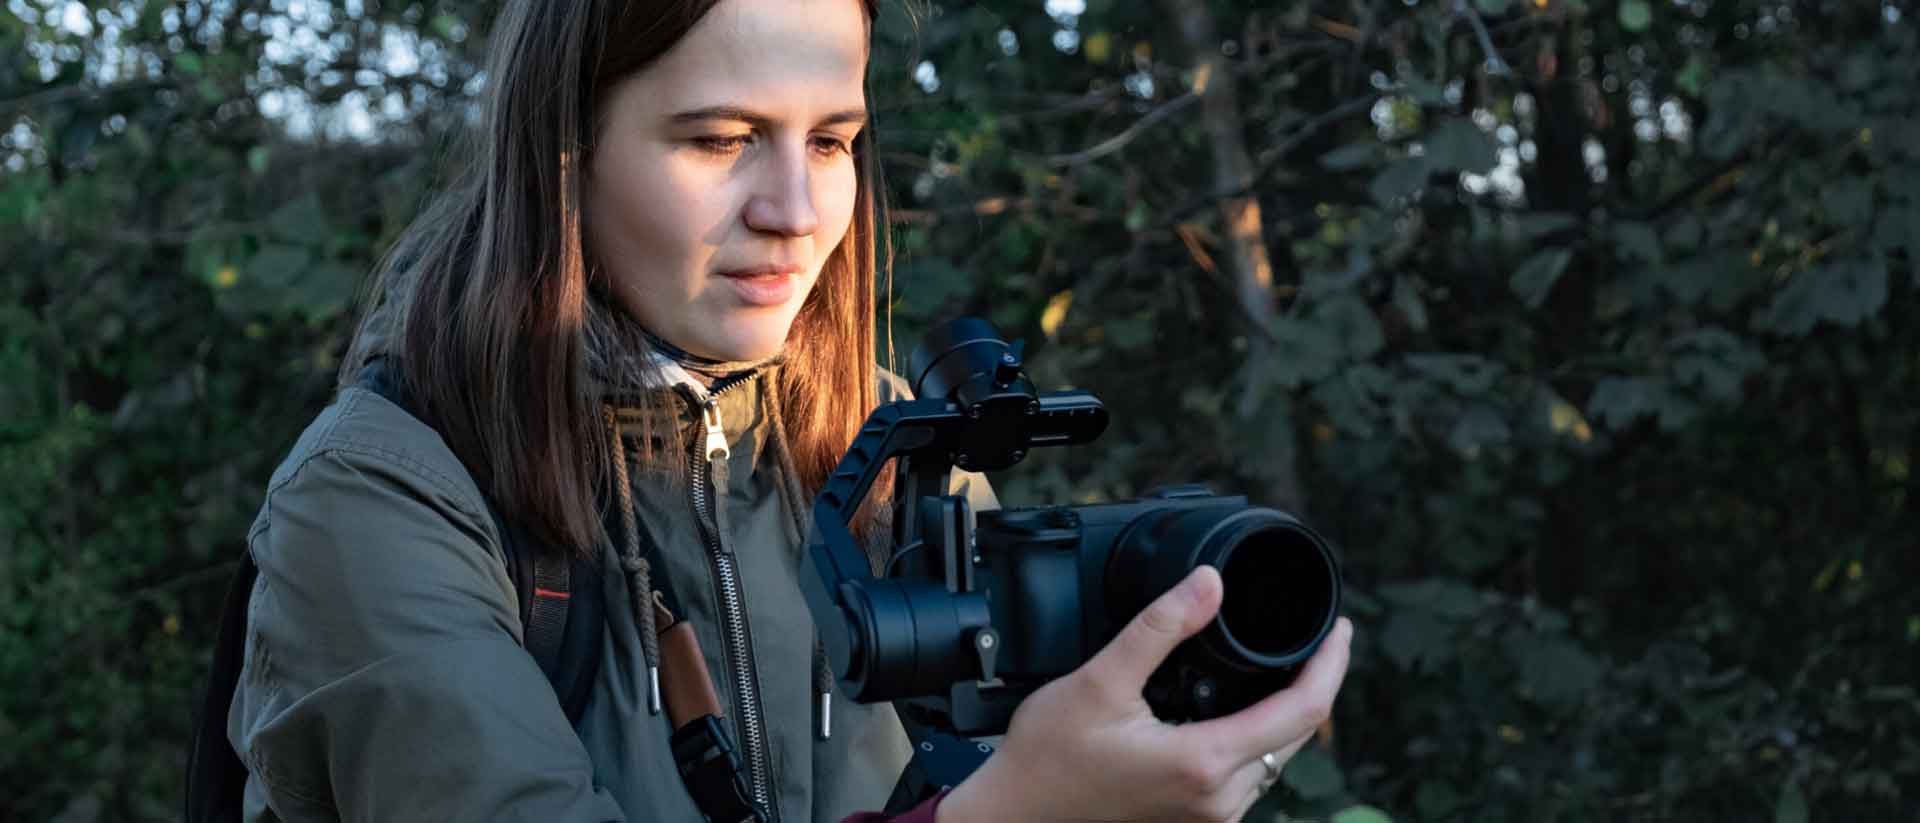
- A Stabilizer System - A handheld rig that smooths out camera movements and reduces shake.
Both of these systems have pros and cons, but in general, I recommend new filmmakers focus on using a stabilizer like the FLYCAM Redking because it is easy to use and set up.
Once you’re ready to get into the big leagues you can use a system like the Steadicam AERO. Track-based dolly systems are good, but the amount of setup required to use them tends to make them more helpful for high-end productions.
4. Dutch Angle
Category: Cinematography
Level: Intermediate
A dutch angle is a filmmaking technique where the scene is shot at a dramatic angle. A dutch angle is used to disorient the audience, giving them a general feeling of uneasiness toward whatever is portrayed on screen. Like zooms, dutch angles should be used sparingly. But when used correctly, a dutch angle can be a great tool for disarming your audience.
This video from StudioBinder is a great overview of the cinematic importance of the dutch angle.
5. Rack Focus
Category: Cinematography
Level: Intermediate
A rack focus is simply changing the focus of a camera from a foreground object to a background object or vice-versa. A rack focus is used by a cinematographer to reveal more information to the audience without using a cut.
A rack focus can be thought of as a magic trick in which new information is revealed that was hidden in plain sight.
To effectively rack focus, cinematographers use a focus control system to dial in the focus of the lens. These systems come in a variety of styles including:
- Follow Focus - A simple gear-based contraption that connects to the gear rings of a lens, giving the user a large wheel to dial in focus.
- Wireless Lens Control Systems - A type of follow focus that can be controlled without touching the camera body.
- Servo - A device inside the lens that allows the focus to be controlled through the camera itself.
Most major film productions will also have a person called a ‘Focus Puller’ (first assistant camera) to rack focus and maintain optical sharpness. While it is always preferable to have someone who can focus exclusively on pulling focus, smaller productions can typically get by with a single camera operator controlling the focus via a follow-focus system.
6. Shot Reverse Shot
Category: Cinematography
Level: Intermediate
A shot reverse shot is the most essential coverage technique in film. A shot reverse shot is a sequence of shots cut together in which one character looks at another. Through editing, a shot reverse shot can create a sense of conversation in a scene in which one character speaks and the other responds.
By shooting a scene from the perspective of each character, you give your editor a greater sense of control over the final result of the film. However, really great shot reverse shot goes beyond just the practical nuances of shooting enough ‘coverage’ for your editor to work with.
As illustrated in this documentary from Every Frame A Painting, a shot reverse shot can lead to a dramatic connection between the audience and characters on screen, leading to a sense of longing for the unveiling of information.
The next time you shoot a conversation scene, try to go beyond a simple wide shot and include a conversational shot reverse shot scene. You’ll thank me in post.
7. Dolly Zoom or Trombone Shot
Category: Cinematography
Level: Advanced
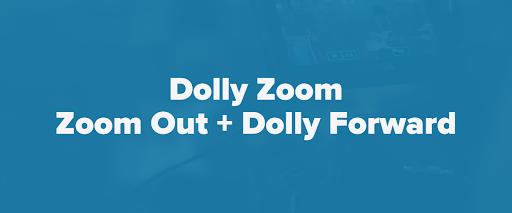
A dolly zoom (Trombone Shot) is one of the most incredible filmmaking techniques in all of cinema. In a nutshell, a dolly zoom is a filmmaking technique that stretches the background of your subject.
The most famous dolly zoom in history comes from Jaws. I bet you remember it...
The mechanics of a dolly zoom are simple, just move toward your subject while zooming out or vice-versa.
Dolly zooms are used to place the audience in the head of a subject. Dolly Zooms convey the feeling of the world is closing in around the subject. A great dolly zoom can be challenging to accomplish because you must zoom, move your camera, and rack focus at the same time. However, when done correctly a dolly zoom can easily become a defining shot in your film.
8. High-Key Lighting
Category: Lighting
Level: Intermediate
High-key lighting is a filmmaking lighting style that reduces shadows on your subject. The best way to think about high-key lighting is to picture a TV Sitcom. Very rarely in a sitcom do you see shadows on a subject’s face. Instead, the entire set is lit evenly in a blanket of light.
From a logistical perspective, high-key lighting is faster, easier, and cheaper to create on set. This is why you’ll often see high-key lighting in live television and comedy films.
High-key lighting is typically created through the use of two large light sources. Popular sources of light for soft high-key lighting typically include:
- Soft Boxes
- Windows
- Diffusion Screens
- Butterfly Light Modifiers
As the inverse square law tells us, the larger the source of light, the softer the shadows. So if you want to create soft shadows in your scene, increase the overall size of the light source.
Film Trick: Want to use ambient architecture to light your scene? Use powerful light sources, like an ARRI 2K, to bounce light off a ceiling.
9. Low-Key Lighting
Category: Lighting
Level: Intermediate
In contrast, low-key lighting is a film lighting style that extensively uses shadow to increase dramatic effect. You’ll often find low-key lighting in films that require a sense of suspense or drama. For example, horror, drama, romance, and action movies.
Whereas high-key lighting is created by using two soft, balanced lights from multiple sides, low-key lighting is created by increasing the intensity of a single light source.
Low-key lighting scenes tend to be darker than high-key scenes, so it’s important to use a fast lens to capture your scene.
10. Room Tone
Category: Audio Production
Level: Beginner
When you watch a professional production you probably don’t even notice how well the sound blends together. This is because the sound designers have carefully balanced a perfect soundscape for the movie.
However, this blend would be impossible without first capturing ambient sound called ‘room tone’. Room tone is essentially the process of capturing the ambient audio at your film location.
At the end of most film productions, the director will queue everyone to be quiet for about 60 seconds so the audio engineer can capture the room tone. The tone is then given to a sound editor to reduce pops and help with blending multiple audio takes.
Room tone can also help with removing background noise using complex audio features like noise print in Adobe Audition.
This tutorial from Roberto Blake shows how to use this feature in Adobe Audition:
11. J Cut
Category: Editing
Level: Intermediate
A J cut is an editing technique in which the audience can hear audio from the lead-in scene before they see it. It’s called a J cut because in a timeline the shape of the audio and video tracks look like the letter ‘J’.
It’s slightly uncommon for a narrative film to feature a dissolve transition from one scene to another, so this is where a J cut comes into play. A J cut can ease the audience into the next scene without a jarring pop in audio.
12. L Cut
Category: Editing
Level: Intermediate
An L cut is a filmmaking technique in which the next scene is shown before it is heard. L cuts are used to create a momentary sense of foreshadowing for the audience.
L cuts act as miniature prophecies between the words spoken by your character and the action seen on screen.
13. Keying
Category: Editing & VFX
Level: Intermediate
Keying is simply the act of removing the background from your subject. You’ve probably seen behind-the-scenes footage of your favorite action stars surrounded by a green or blue background. These bright colors are used because they do not have the red and orange values most often found in skin tones.
Green screen keying is the most common form of chroma keying, but it is also possible to key out footage based on the lightness values of the footage using a technique called luma keying. While it may seem like magic, keying is actually fairly easy to do in most major editing tools (if you light your screen correctly).
Here’s a great tutorial on how to key footage in After Effects:
14. Compositing
Category: Editing & VFX
Level: Intermediate
Compositing is the process of layering and combining multiple digital assets together. Compositing is typically used when digital effects need to be applied to a scene.
The most common compositing software in the filmmaking world is After Effects and Nuke, with the former representing the go-to tool of choice for indie-VFX artists.
Compositing works by thinking of your scene as a series of flat images stacked on top of each other. By layering your footage, digital assets, and backgrounds together, you can ‘comp’ scenes that would have been impossible to create any other way.
Here at ActionVFX, we specialize in creating digital assets used for compositing VFX shots.
15. Motion Tracking
Category: Editing & VFX
Level: Intermediate
Motion Tracking is the process of tracking the movement of a camera using digital software. As a cornerstone of digital compositing, motion tracking must be accurate to ensure believable results. There are a lot of great motion tracking solutions available to modern artists (Nuke, After Effects, Mocha Pro, etc.), and they all include their own pros and cons.
I recommend doing some research to determine which motion-tracking application would be best for you. If you are new to the world of motion tracking, After Effects with the included version of Mocha is a great place to start.
This video is a great tutorial video on Motion Tracking from Michael Tierney:
Learn More Filmmaking Techniques
If you want to learn more filmmaking techniques here are a few of my favorite resources from around the web:
- 30 Filmmaking Techniques You Didn’t Learn in Film School - Studio Binder
- 14 Basic Cinematography Techniques - Adorama
- 7 Old School Filmmaking Techniques - Noam Kroll
Finally, with the rise of YouTube, digital cameras, and increasingly accessible technology and information, the road for the modern-day filmmaker is full of opportunity. Don’t miss out on these opportunities and continue a path of learning!
Never heard of ActionVFX? Simply put, we exist to make filmmakers' and VFX artists' lives easier by providing the world's largest library of VFX stock footage.
At ActionVFX, we believe in letting our work speak for itself. That's why we offer an incredible selection of free VFX elements for you to try out! See the quality of our assets for yourself, and stay informed about new releases by checking out our release schedule. If you regularly do compositing, it may be worth it to consider becoming an AVFX+ subscriber. AVFX+ gives you unparalleled access to tens of thousands of dollars worth of VFX stock footage.
JOIN AVFX+
JOIN AVFX+
Remember to connect with us on our social networks to stay updated on our latest news, giveaways, announcements, and more!
ActionVFX socials:
-min-min-min.jpg)
.png)
.png)
.png)
.png)
.png)
.png)
.png)
.png)
.png)
.png)
.png)
